
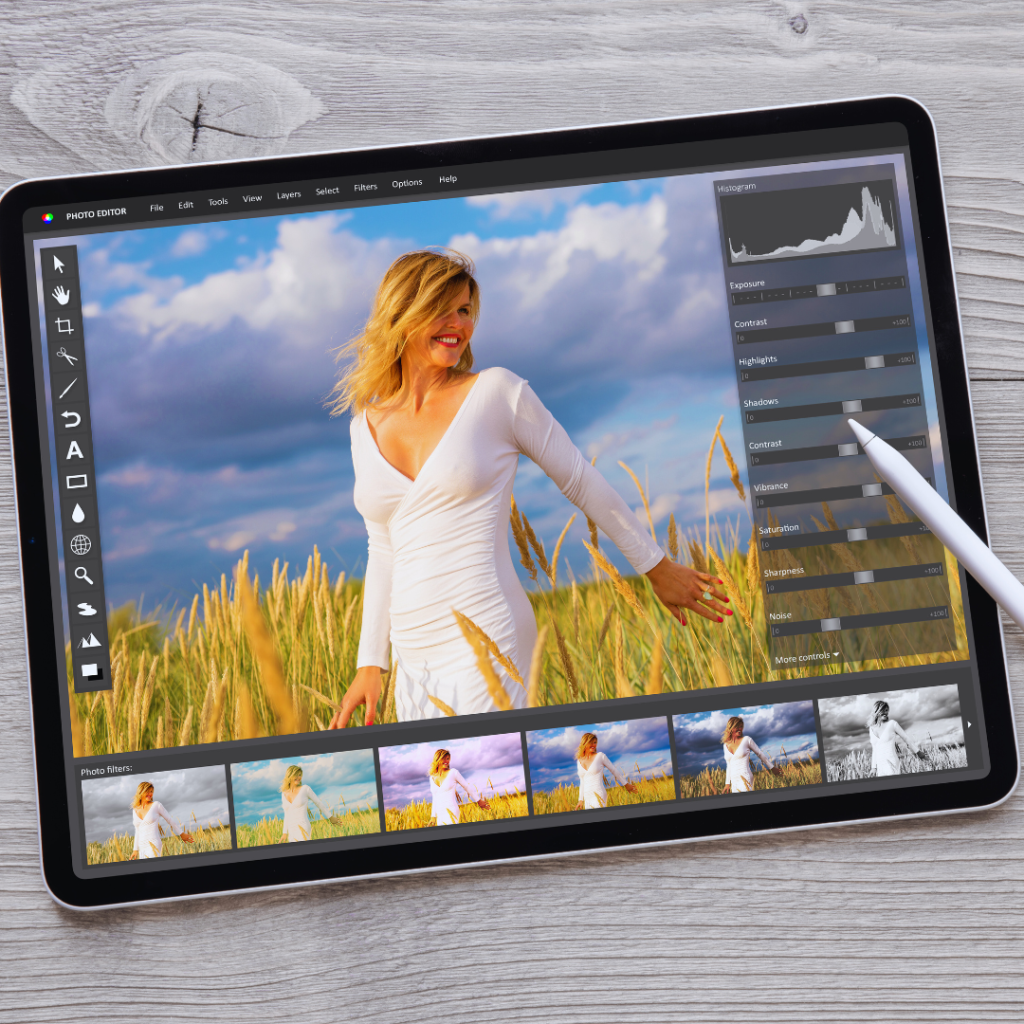
Editing photos like a professional requires understanding techniques that elevate images from ordinary to extraordinary. Mastering tools such as contrast adjustments, colour correction, and precise cropping can significantly enhance the quality of photographs. Photographers often rely on software like Adobe Lightroom or Photoshop to perfect their images, making familiarisation with these programmes essential for anyone looking to advance their skills.
A professional photo editor knows how to bring out the best in every shot. They focus on details that most casual photographers miss, whether it be sharpening details or adjusting lighting to create depth. By adopting a structured approach to photo editing, one can achieve stunning results that capture attention and convey emotion.
With the right techniques and tools, anyone can edit photos like a pro. Each step in the editing process contributes to the final outcome, turning a simple snapshot into a visually striking image. Embracing these practices can lead to improvements not just in editing skills but also in the overall quality of photography.
Understanding the Basics of Photo Editing
Photo editing involves fundamental techniques that enhance images and make them visually compelling. Mastering these basics sets a strong foundation for more advanced editing skills.
Essentials of Composition and Cropping
Composition is vital in photography, influencing how a viewer perceives an image. Key elements include the rule of thirds, leading lines, and framing.
When cropping, photographers can improve composition by focusing on the subject. The crop tool in software like Lightroom or Photoshop allows adjustments to the frame. Use the crop and straighten feature to rectify tilted images while enhancing composition.
Before finalising a crop, consider the impact on balance and visual interest. The histogram is an essential tool here, providing insight into exposure levels and ensuring no details are lost in shadows or highlights.
Mastering Lighting and Exposure
Lighting significantly influences the mood and quality of a photo. Proper exposure ensures that an image retains details across its spectrum.
Editing software offers features for adjusting brightness, shadows, and highlights. An exposure adjustment can help bring out details hidden in dark areas or tame overly bright sections.
Understanding the histogram aids in achieving correct exposure. A well-distributed histogram indicates balanced lighting. Photographers should learn to identify under or overexposed areas and make necessary adjustments to capture the true essence of an image.
Colour and Tone Adjustments
Colour enhancement is crucial for creating stunning photographs. Adjusting saturation and contrast can dramatically change the image’s impact.
Start with white balance adjustments to correct any colour casts. Key components involve controlling colour temperature and tint. Use tools like the basic panel in editing software to make these corrections effectively.
Further refinement can be achieved with the tone curve, allowing precise control over highlights and shadows. Adjusting these settings enhances the overall colour dynamics and improves the visual appeal of photographic elements.
Advanced Photo Editing Techniques
Mastering advanced photo editing techniques enhances the quality and creativity of images. Utilising selective edits effectively and applying appropriate filters can significantly transform photographs.
Utilising Selective Edits and Layer Masks
Selective edits allow the photographer to alter specific areas of an image while preserving the rest. Tools like the pen tool, quick selection tool, and magic wand tool are ideal for making precise selections.
Layer masks play a crucial role in these techniques, enabling non-destructive editing. By painting on a mask, one can reveal or hide parts of an image, allowing for intricate adjustments. For instance, brightening only a subject’s face without affecting the background can elevate the visual impact.
Combination with frequency separation techniques helps in refining skin tones or textures while maintaining high detail in the surroundings. This ensures professional quality in the final output.
Refining Images with Sharpening and Noise Reduction
Refining images is essential for enhancing clarity and detail. One predominant method is sharpening, which can be done through the detail panel in programs like Adobe Photoshop. It is important to apply sharpening selectively to avoid unwanted artefacts.
Noise reduction is equally crucial, especially in low-light images. Techniques involve using built-in noise reduction filters or software like Luminar AI that intelligently assesses and reduces noise while preserving details.
Balancing these adjustments ensures that images retain their natural appearance without losing essential elements. Employing both sharpening and noise reduction in tandem can result in striking, professional-grade images.
Creative Use of Filters and Effects
Filters and effects can transform a standard image into something extraordinary. LUTs (Look-Up Tables), for example, enhance colour grading, giving images a unified colour palette and mood. This is especially beneficial in maintaining a consistent style across a series of photos.
Presets can save time and provide a quick starting point for adjustments. Customising these presets allows for personalised editing styles while utilising various filters tailored for different effects.
Experimenting with blending modes in Photoshop can create unique visuals, pairing traditional filters with modern techniques. Subtle effects, such as vignettes or bokeh, can further enhance focus on the subject while adding an artistic touch.
Developing a Personal Editing Style
Developing a personal editing style is essential for anyone looking to enhance their photography. It involves a blend of technical skills, the use of presets, and artistic choices that reflect individuality.
The Role of Presets and Templates
Presets play a crucial role in establishing a photographer’s style. They provide a foundation for consistent editing, allowing quick adjustments that can save time. Professional photographers often use software like Luminar and Snapseed to create their own presets, tailoring them to suit colour grading and mood preferences.
Templates can also streamline workflows. Platforms like Canva offer templates that facilitate easy integration of graphic elements. By customising these tools, photographers can ensure their edits maintain a cohesive look. It’s important to adapt presets rather than rely on them exclusively. This approach adds a personal touch to each image, fostering distinctiveness in their work.
Incorporating Artistic Elements for Unique Edits
Artistic elements significantly contribute to the development of a personal editing style. Techniques such as black and white photography can evoke emotion and drama. Adjusting contrast and highlights can transform a standard image into a work of art.
Incorporating textures, overlays, or lighting effects adds depth. For instance, using complementary colours can create a stunning contrast, enhancing the overall aesthetic. Additionally, AI-powered tools like face swap ai can introduce a whole new creative dimension to photo editing. With the ability to seamlessly replace faces while maintaining ultra-realistic details, this technology enables artists and editors to experiment endlessly. Experimentation with different styles helps photographers pinpoint what resonates most with their vision. Incorporating unique artistic elements allows for a signature style that audiences can recognise and appreciate.
Finishing Touches and Output for Various Platforms
Attention to detail is essential in photo editing, particularly in the finishing touches and preparing images for various platforms. Properly retouched images enhance the overall quality, while suitable export settings ensure optimal display.
Ensuring Quality Retouching
Professional photo editing involves meticulous retouching techniques. Tools like spot healing and blemish removal are invaluable for achieving a polished look. Using Capture One or other advanced software, editors can apply non-destructive editing, allowing modifications without permanently altering the original image.
Key techniques include:
- Lens Correction: Eliminates optical distortions caused by camera lenses.
- Advanced Retouching: Focuses on subtle adjustments to skin tones and textures.
- Sharpening: Enhances detail without introducing artefacts.
By following a consistent editing workflow, editors can efficiently import photos and apply necessary retouches, ensuring high-quality output.
Exporting for Social Media and Print
Export settings vary based on platform requirements. For social media, it’s critical to balance file size and quality. Images should generally be exported in JPEG format, with a resolution between 72 and 1080 pixels wide for platforms like Instagram and Facebook.
Key export settings include:
- File Type: JPEG for general use; PNG for images requiring transparency.
- Colour Profile: Use sRGB for web images to maintain colour accuracy.
- Resolution: 300 DPI for print, ensuring crisp, clear visuals.
Adjusting these settings optimally will enhance the presentation of edited images, whether shared online or printed.